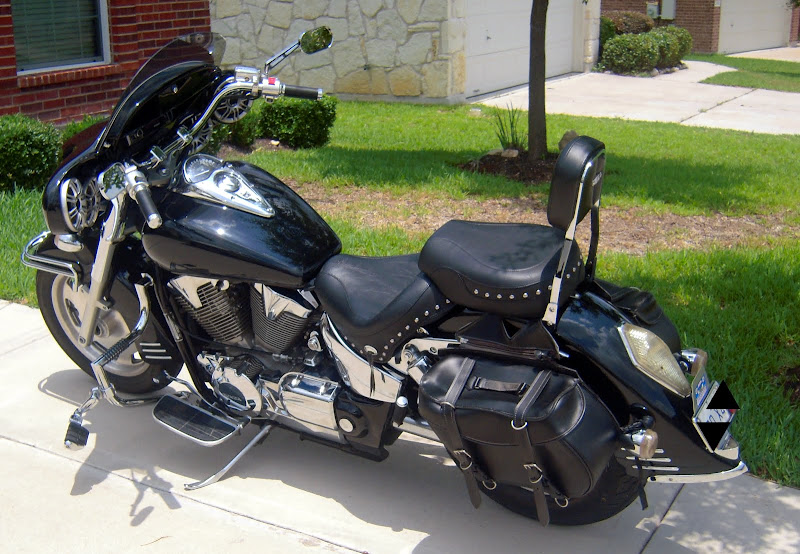
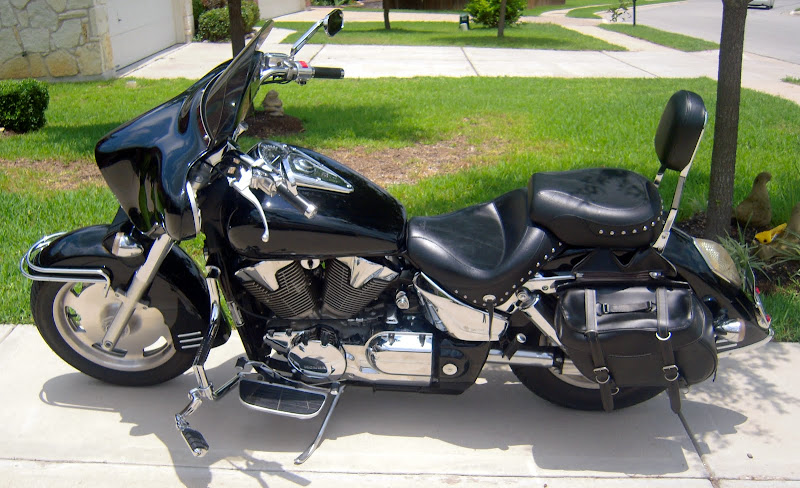
As promised, here is my fairing installation project. I’m no wrench head. I’m a computer guy. I did have some issues, but at the end, I’m very satisfied with the end result.
I decided to use an Xtreme Revolution fairing. There were three reasons why I chose this fairing.
-Cost
-Looks
-And it came in two pieces (more of this later)
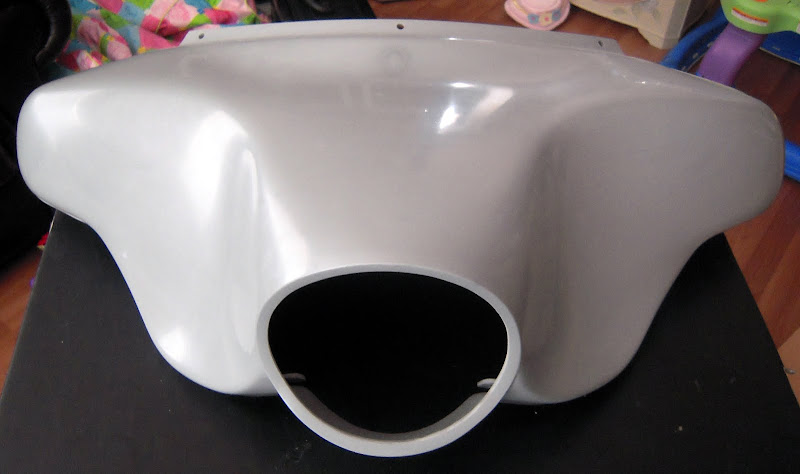
As some of you may know, Xtreme Revolution was going out of business, but they will still stay in business, they will be selling there fairings via EBay. The fairing arrived in one big box, inside was the fairing and the bat-wing storage compartment.
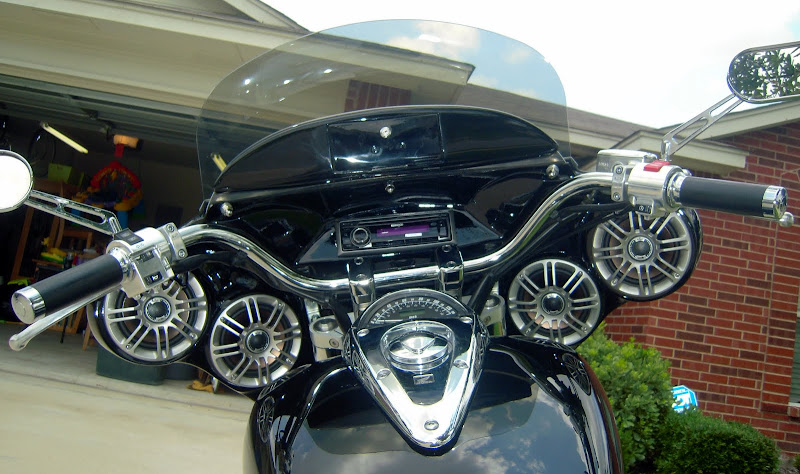
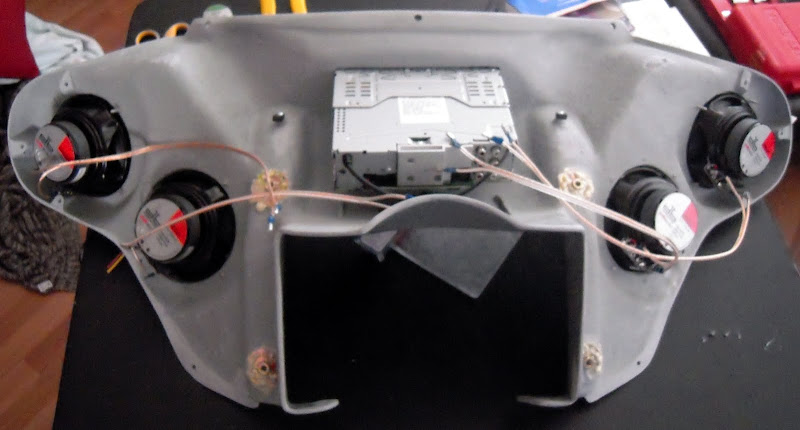
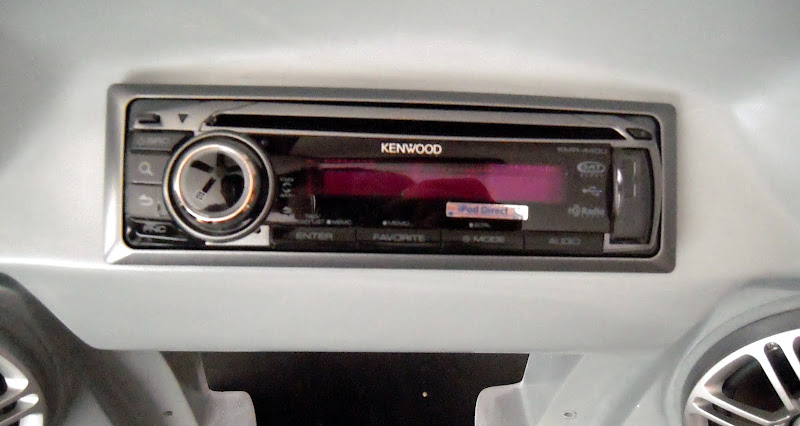
The first thing that I did was to mock the speakers and the stereo. I decided to use the Kenwood KMR-440U and the Polk DB521 5.25” speakers. The reason for these is obvious, they are both marine rated. Also, for the Kenwood Stereo, it has a front USB port and a front Aux input. The USB port can take a standard USB memory stick as well as it can control your IPod. The USB port will also charge any USB device i.e. cell phone, IPod, MP3, player, etc. Basically anything that complies with the USB standard.

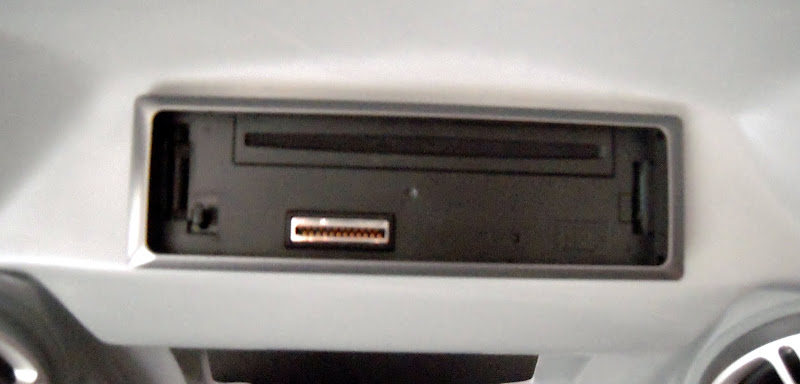
Next thing I did was to drill some port holes at the bottom of the fairing. They point to the headlight. The reason I did this was as a recommendation from the national board as well as the instructions that came with the fairing. This is to improve sound quality as well as to make it sound louder. Both the national board, as well as the Xtreme Revolution instructions recommended doing it next to the speakers. I decided against it because I did not like the look. I’m glad I did this, because when I drilled the holes, the fairing chipped. I blame myself because I did not apply the necessary pressure when drilling as well as I did not do it fast enough.
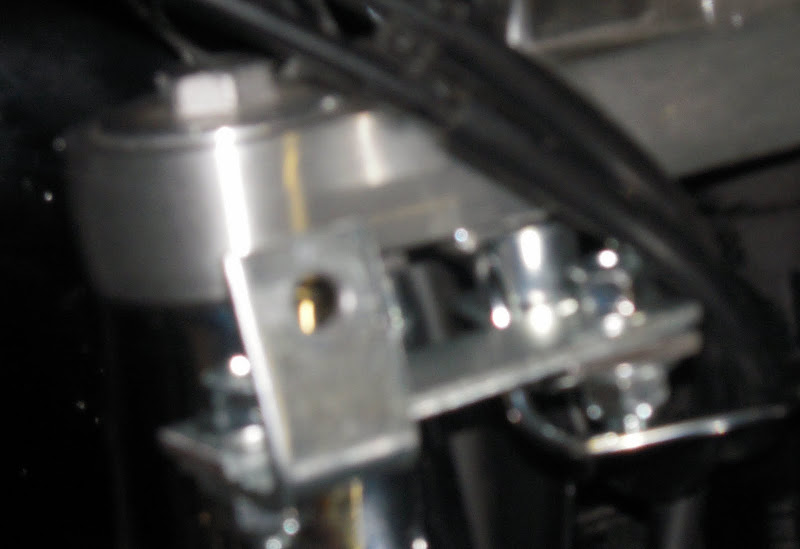
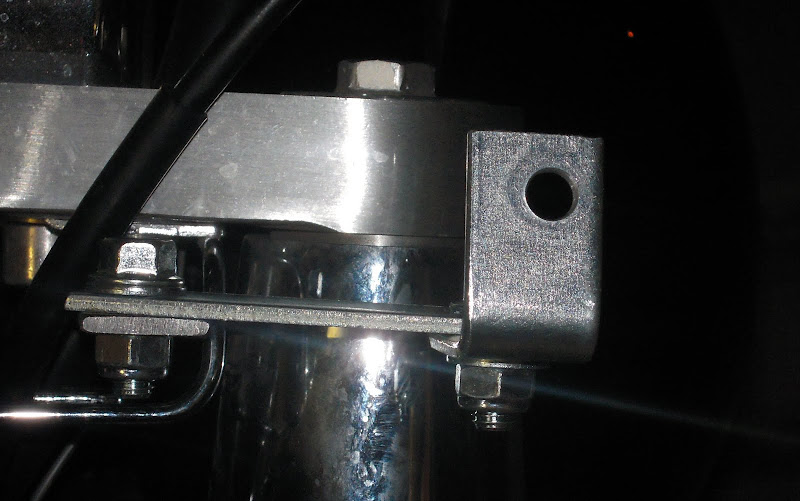
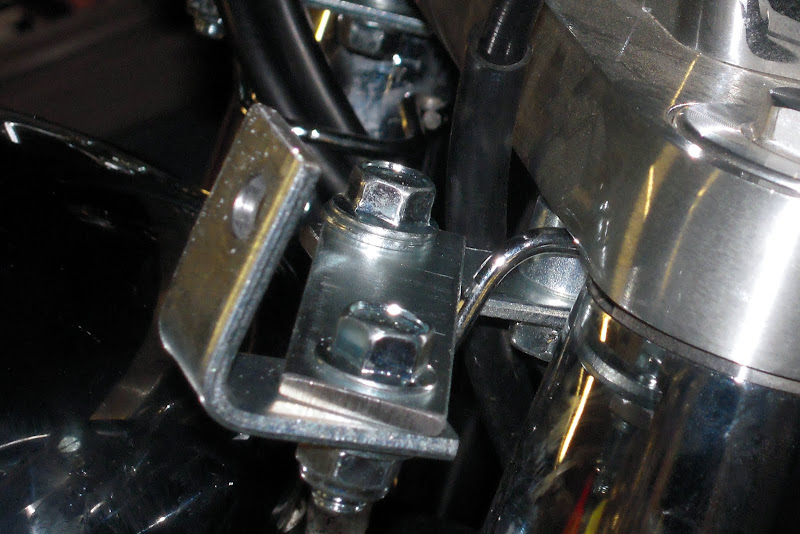
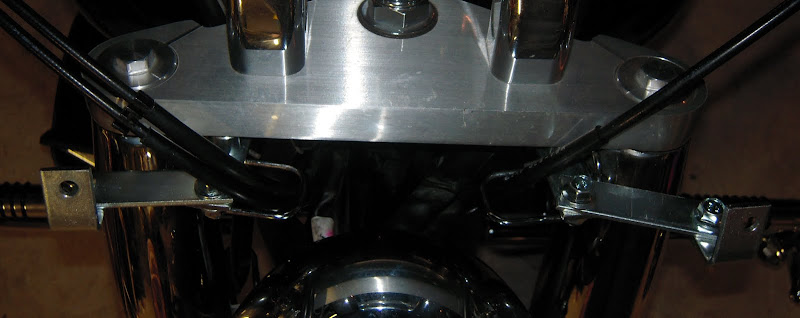
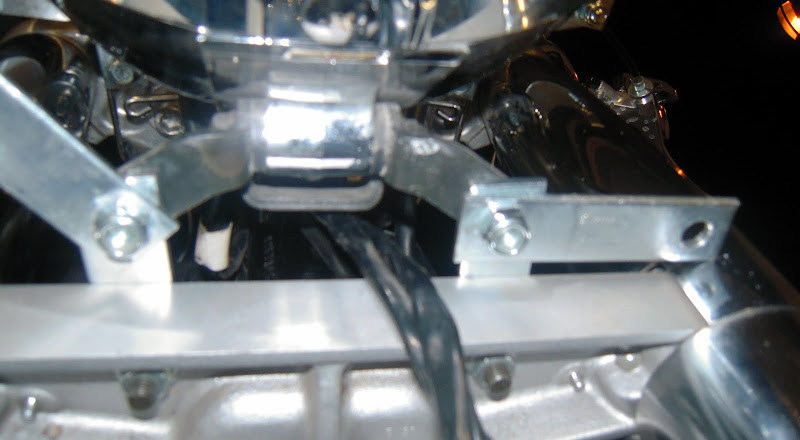
Next step was to mock the fairing on the bike. I first wanted to use the Memphis Shades mounting brackets that I had from my windshield. This did not work, it did not align properly. I tried bending the brackets, but I was not successful. So I decided to use Xtreme’s brackets. It was a lot easier and it also helped me in fine tuning the placement.


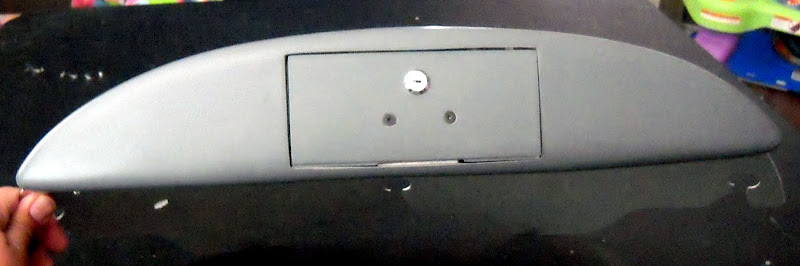
Here is a look at the port holes through the stereo housing. Port holes are pointing to the headlight.

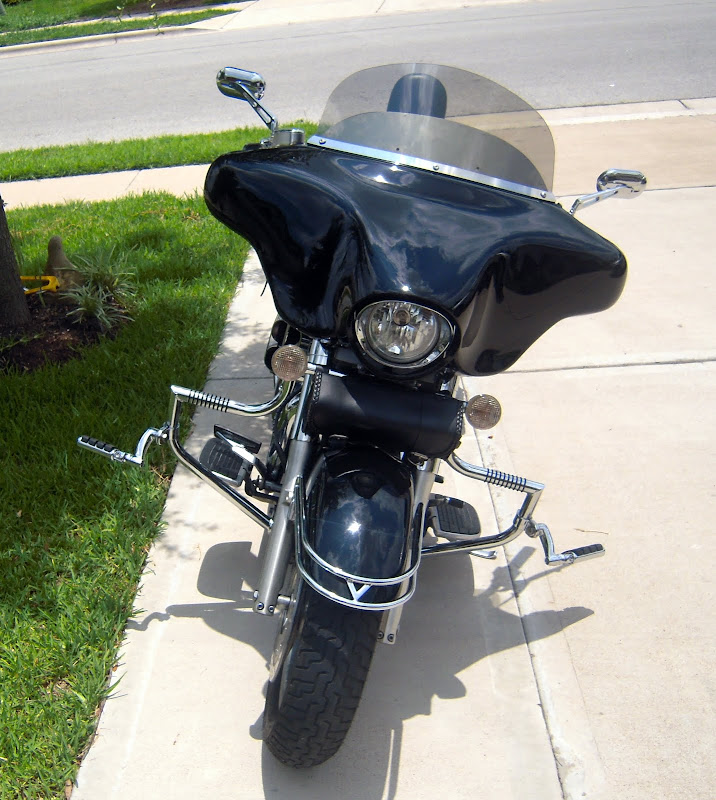
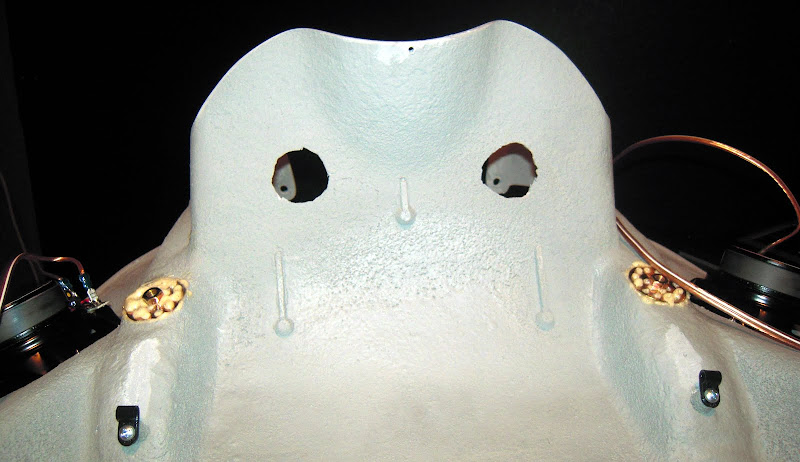
When mocking the fairing, I had to remove the turn signals.

I highly recommend you place a rag or something on the front fender. This saved me many times on scratching the fender.
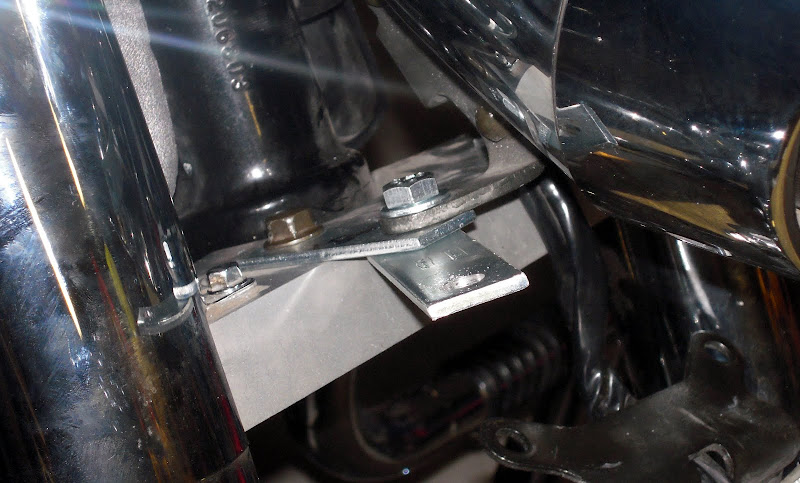
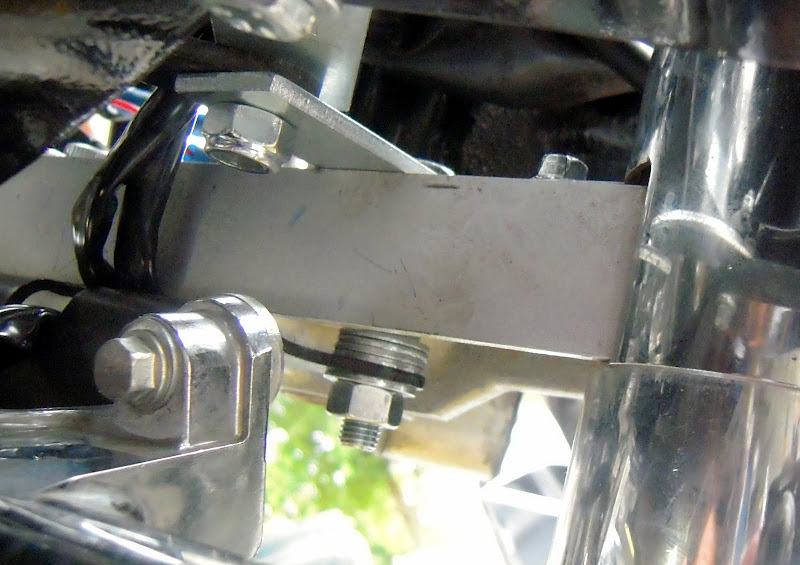
Here are some pics of the Xtreme brackets. Slightly tighten them. You will be adjusting them constantly when you mock the fairing as well as when you do the final install.
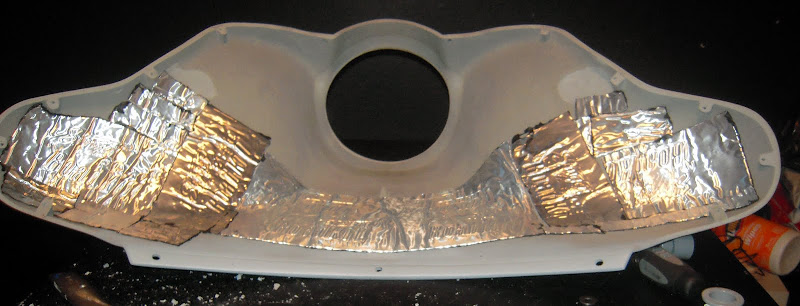
Next thing I did was to remove the fairing and add Dynamat. This is overkill, you do not have to do it, but I’m a little of an audiophile so I added it.

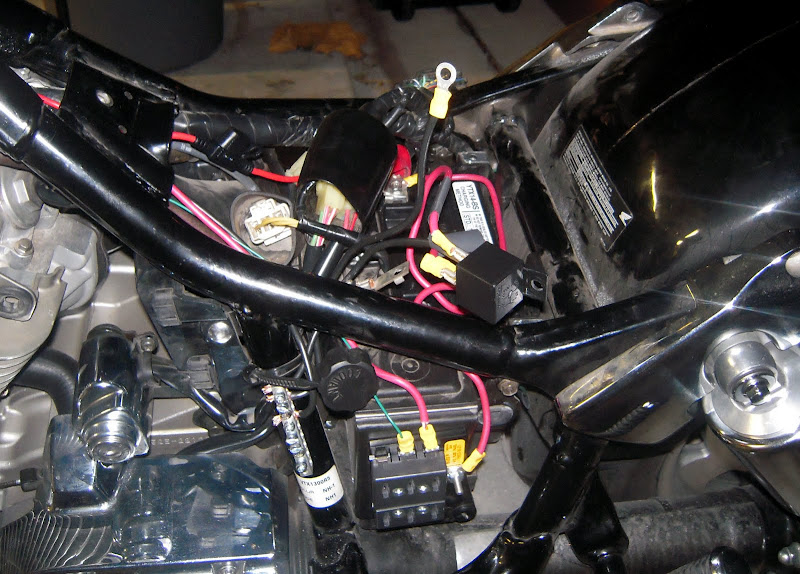
Next step was to install the fuse block with a relay as well as the ground block. I followed the following write up. This is an awesome website. It explained to me what a relay does (I had no idea) and also gave me the schematics for it
http://www.cyclenutz.com/electrical/fuse_block_and_relay_installation.html I highly recommend that you poke around the website. There are a lot of electrical instructions that explain everything in plain English.
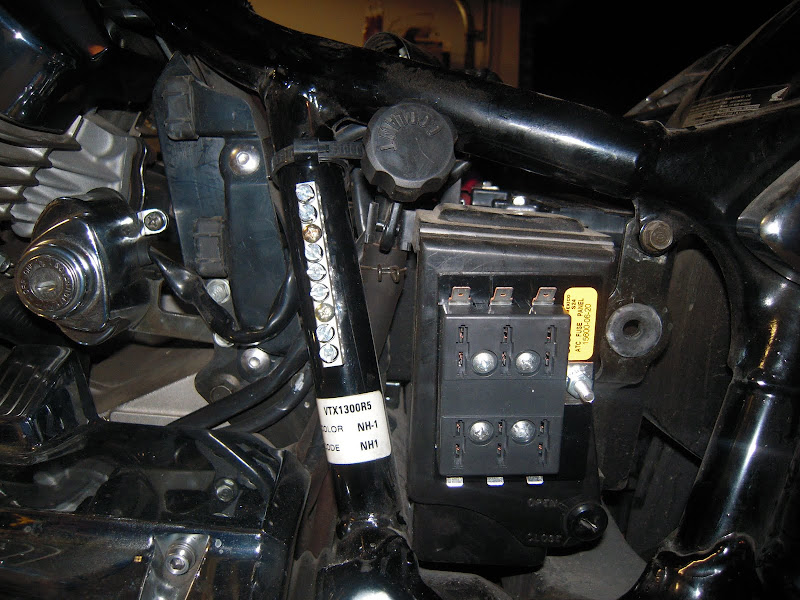

I installed the fuse block on the outside of the tool box. I got this idea from the national board. The ground block I got it from Home Depot. It is a ground block for home and/or industrial application. The fuse block and the relay I got from Autozone. There are motorcycle specific fuse and ground blocks, but they are expensive. These do the same job. As a matter of fact the fuse block from Autozone states that the fuse block can be used on boats. So I told myself, hey…this will work.
Next thing I did was to run the wiring. I used 10 gauge wires. This recommendation I got from the national board. I bought it from Autozone or Napa…I can’t remember, for those none wrench heads out there, buy red and black wire. I then followed the instructions from
http://www.cyclenutz.com/electrical/fuse_block_and_relay_installation.html for the wiring. Try to route the wire as best as you can to keep it hidden as well as so it will not be pinched when you put her back together.
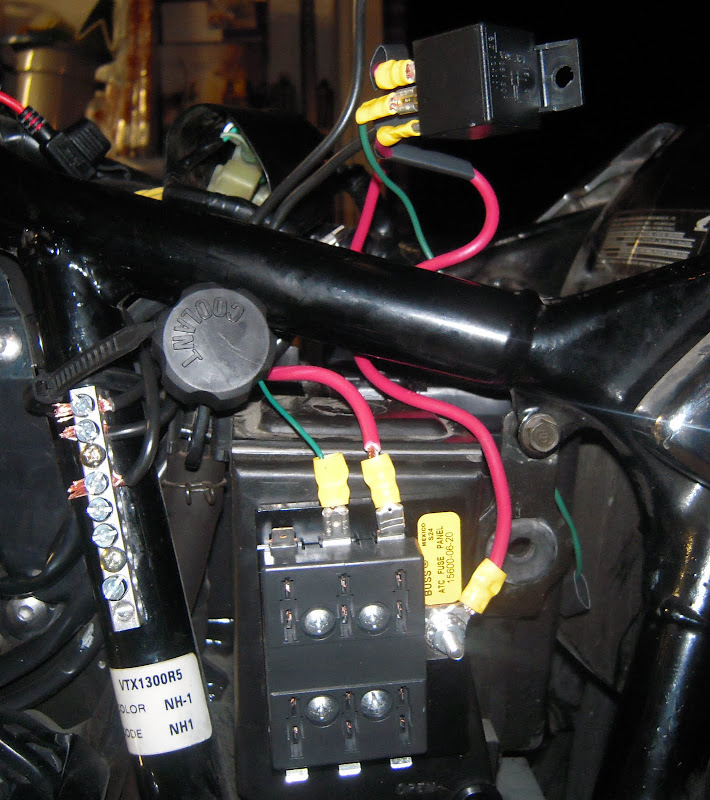
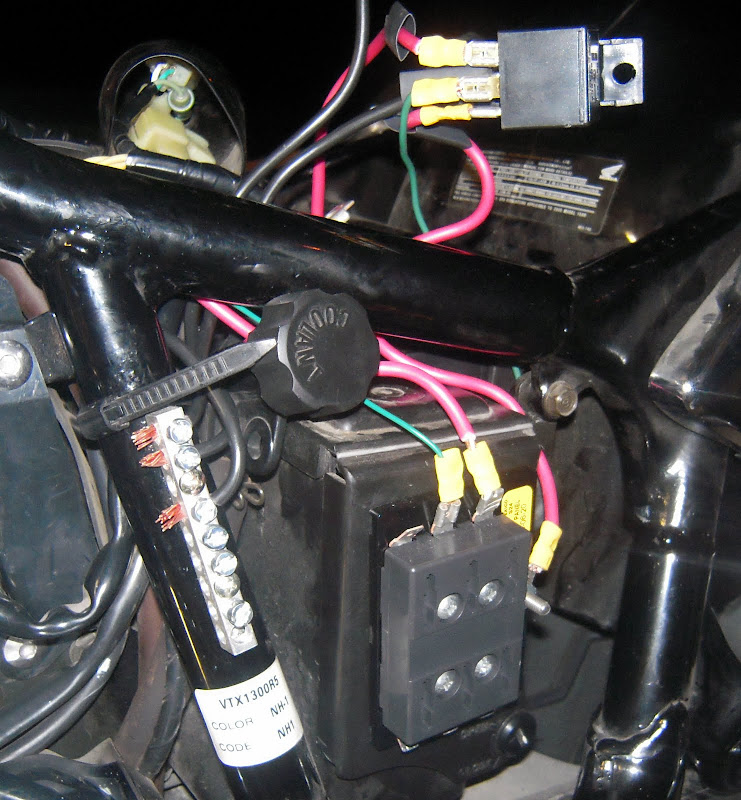
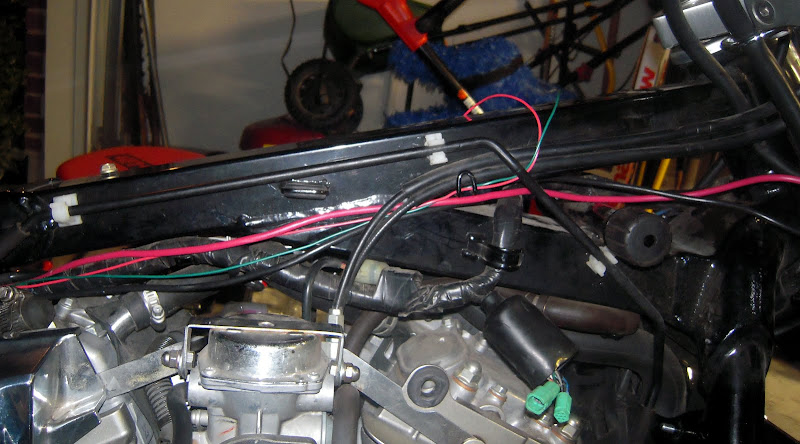
I also added an extra red wire for the power to the stereo memory as well as a green wire (which I already had but 16 gauge) for the powered hidden antenna. The memory wire has an inline 10A fuse that is connected straight to the battery. The powered antenna goes straight to the fuse block, also a 10A fuse. Don’t forget to use zip ties. This will keep the wires in place.
When I had all of this done, I sent the fairing to the painter. A word of caution when you send the fairing to the painter, or if you decide to paint the fairing yourself. Use an epoxy primer. Do not use a plastic primer. This can ruin the paint job. The Xtreme instructions state this. I left a copy of the painting instructions to my painter, but he did not follow them. He had issues when painting.
Next thing I did was follow the instructions of Xtreme Revolution regarding the wrapping of the wires of the stereo in foam. This will reduce significantly the rattling sound of the wires. I used the wrapping material that came in the box of the fairing. Also, I highly recommend that you use but plugs for all of the wires inside the fairing as well as the electrical connections that go in between the fairing and the fuse block. The reason for this is that you WILL encounter problems and it is very easy to plug and unplug the wires if you ever have a need to do it.

I did not mention where I positioned the relay. I decided to install it under the seat. I have a Mustang seat. The relay is screwed onto the plastic cover of the battery.

Next thing is to install the fairing after it came back from the painter. Be CAREFULL….you can scratch the paint as I did….wait a sec. I almost forgot. Per the recommendation of the painter, he advised not to glue both halves of the fairing together. I’m glad I followed his recommendation. If I did not follow his recommendation, It would have been a b*tch to install the stereo, run the wires and install the speakers. There are some gaps and both halves are not completely smooth. These imperfections are not very visible, but I’m glad I followed his recommendation. Another thing, by adding the Dynamat, the lower speakers hit the Dynamat and they are not completely flush. There is about 1/8 inch gap. If you do not like this, do not add the Dynamat.
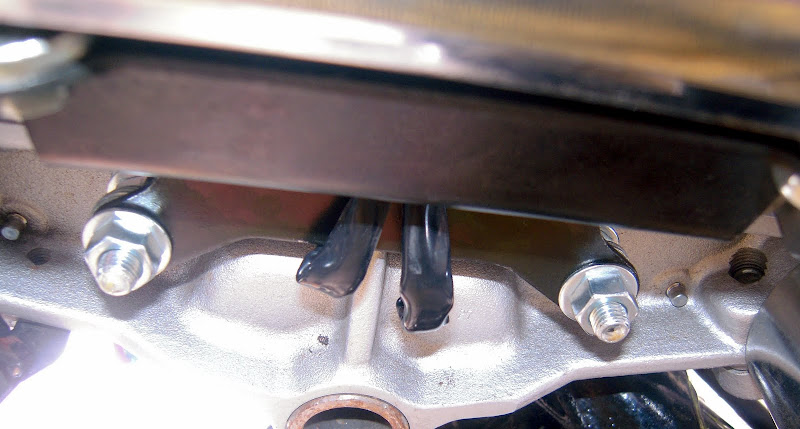
Another problem that I encountered was the turn signal bar that goes under the headlight. I thought I had to get a relocation kit, but I did not. What I did was buy two 2.5” screws and some extra nuts and a whole bunch of washers. The first thing I did was lock down the head light with a washer and nut, then I filled the gap with some washers, then I slid in the turn signal bar, added one more washer and tighten everything up. Do not forget to use lock-tight or something similar and use a lot. Not only use the lock-tight here, but also when doing the final installation of the fairing.
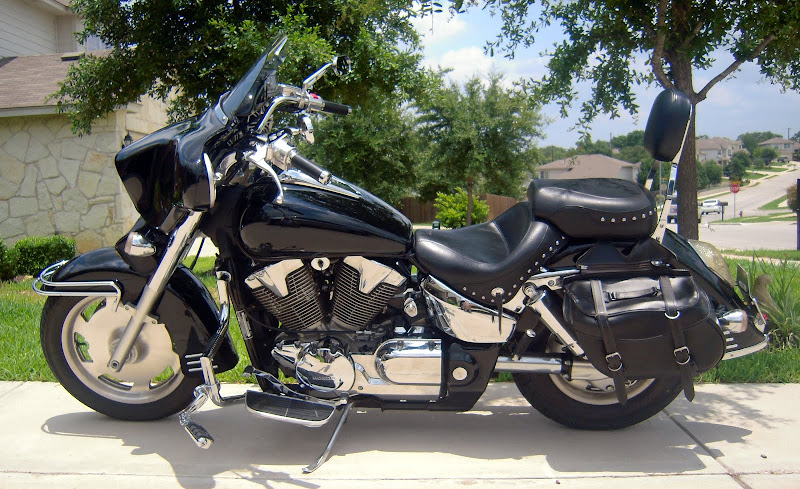
Here are the pics of the install. If you have any question, PM me and I will answer as best I can.